Subtitle: How to use the SDK Channel Map Editor
| Note |
|---|
This page may be obsolete. It does not work with the final versions of the SDK and RI. |
Overview
There has been some confusion about how to use the SDK Channel Map editor, and, in particular, how to test/validate that it works correctly. This wiki entry hopes to clear up the confusion and provide detailed information on using Tunetest to test/validate the channel map editor.
Setup
- Install Eclipse and the SDK - detailed instructions here: http://ri.opencable.com/sdk/updates/eclipse.3.6/stable/latest/TWB_ReleaseNotes.pdf
- Install a version of the RI - detailed instructions here: https://community.cablelabs.com/wiki/display/OCORI/Installing+the+RI
NOTE: You can use a development version of the RI (one that you have checked out and built). <TODO: more detail>
Create/Import Tunetest
There are multiple ways to create and populate a "tunetest" project. I'll describe one based on importing from a checked out version of the RI.
- In the SDK, create an empty OCAP project (the name isn't important, but I'll call it "Tunetest").
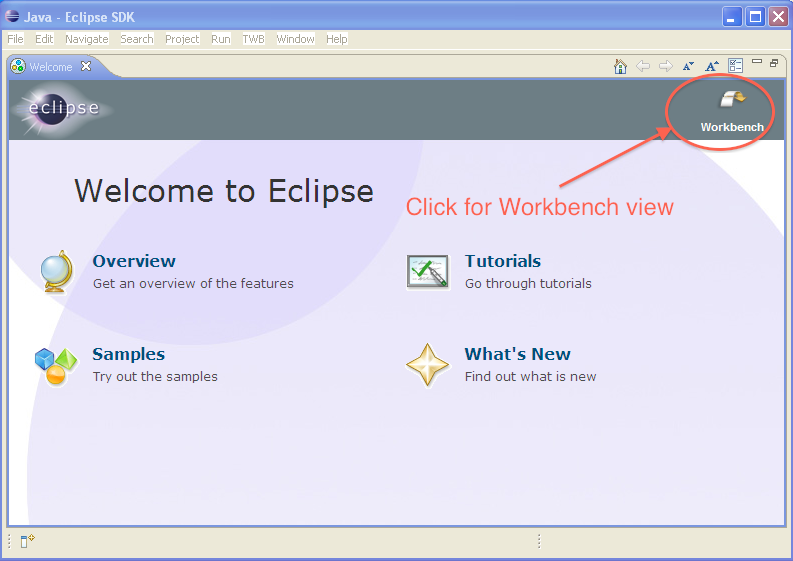
Spash screen: Click on the "Workbench" icon...
Workbench view: Click on "File->New->Project... and expand the OCAP selection."
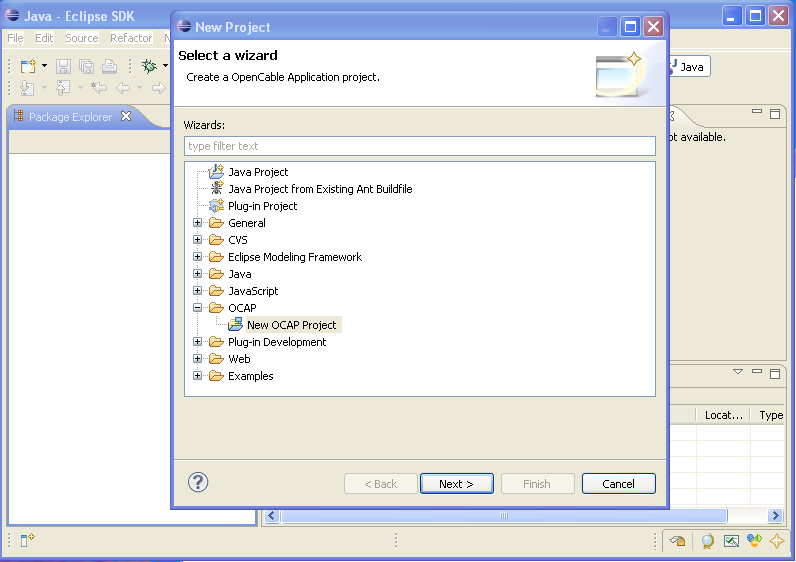
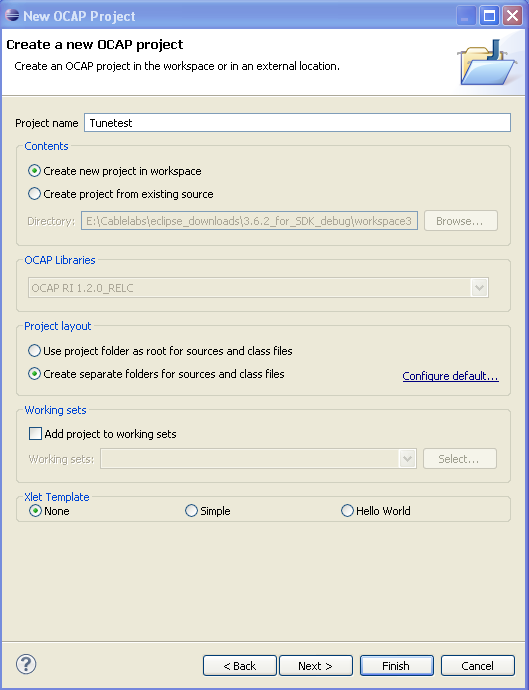
The "New OCAP Project" wizard will appear. Type in a name, and select "None" for the Xlet Template.
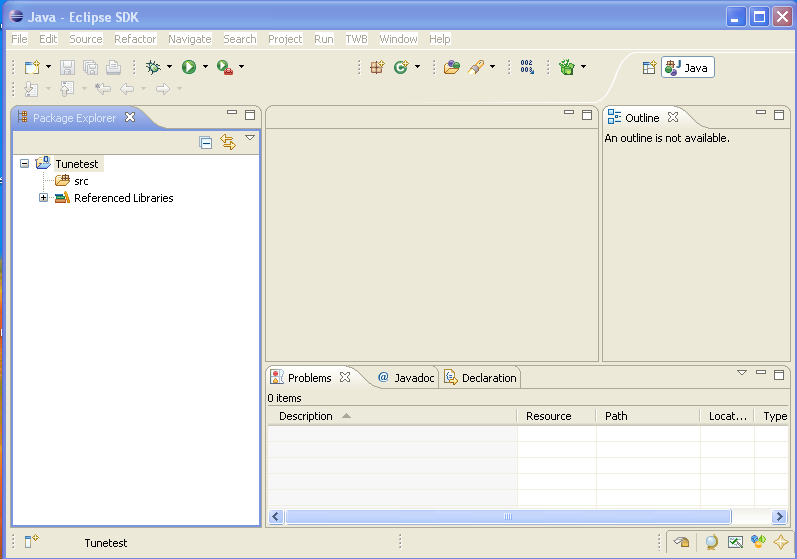
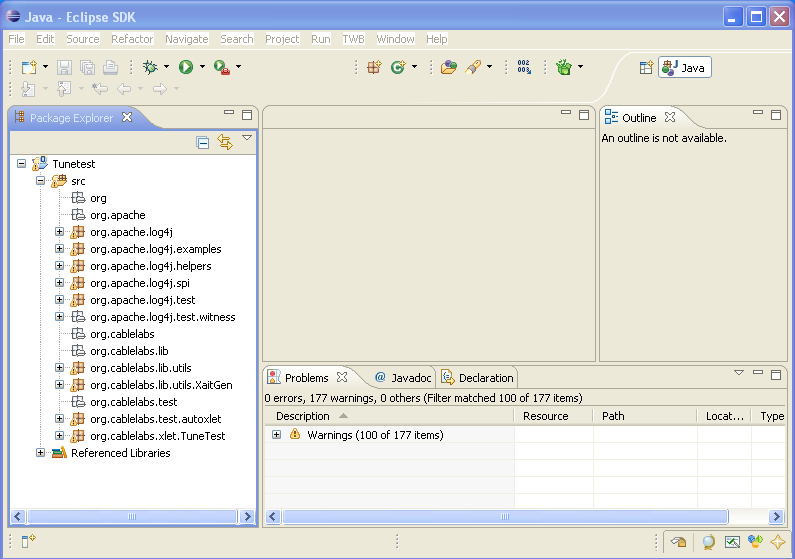
This is an empty OCAP project:
- Import the necessary files from the file system.
The resulting (empty) project will have a src directory.
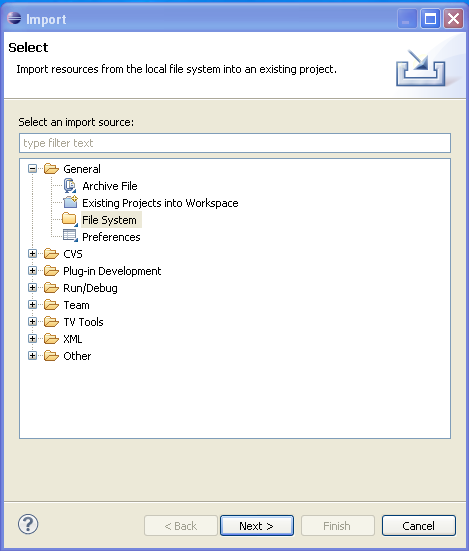
Select it (click on it) and then File->Import. A dialog will open.
Expand the "General" category, and select "File System". Then click on "Next".
Browse to where you have checked out the RI and into the ri/RI_Stack/apps/qa subdirectory.
Select the qa subdirectory and click "Ok".
The Import dialog window will be populated with the qa subdirectory in the left hand pane and files listed in the right hand pane.
Expand the qa subdirectory.
I find it easier to manage if I import a selected set of source files:
- org/apache
- org/cablelabs/lib
- org/cablelabs/xlet/Tunetest
Click "Finish". Now we need to import the AutoXlet source...
File->Import. A dialog will open. Browse to where you have checked out the RI and into the ri/RI_Stack/apps/qa/AutoXlet.
Expand AutoXlet, check org, click on Finish.
If you try and import the AutoXlet source with the Tunetest, etc. source, eclipse puts the AutoXlet source inside a "AutoXlet.org..." package, which is incorrect (and won't compile).
At this point, TuneTestXlet should compile (the only class that doesn't is org.cablelabs.test.autoxlet.XletDriver - if it bothers you, delete it. We don't need if for this exercise...)
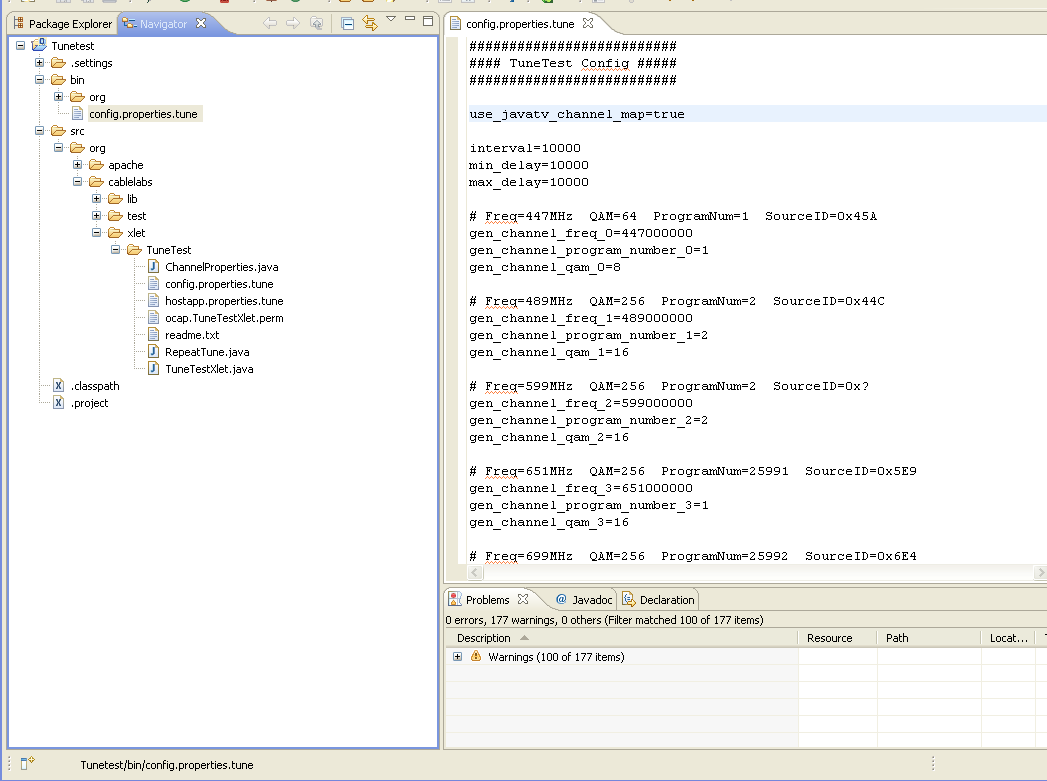
- Copy <workspace_root>/Tunetest/src/org/cablelabs/xlet/TuneTest/config.properties.tune to <workspace_root>/Tunetest/bin/config.properties.tune
This is done from within Eclipse using the Navigator view:
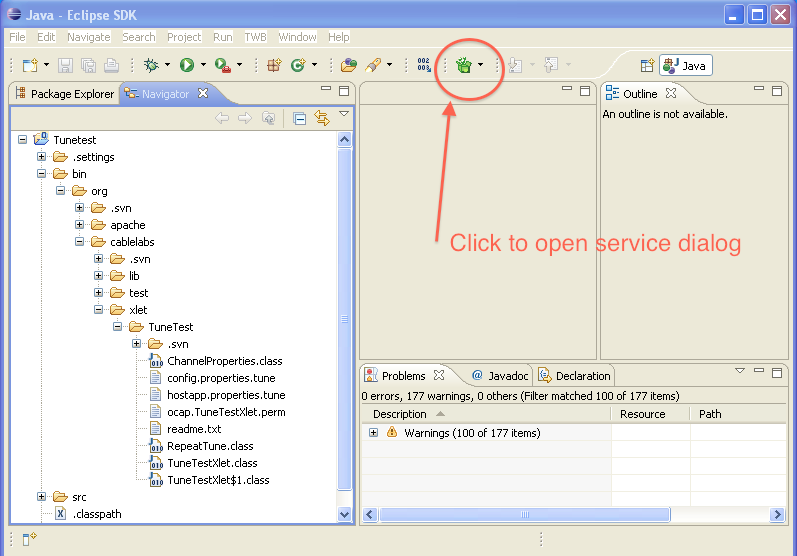
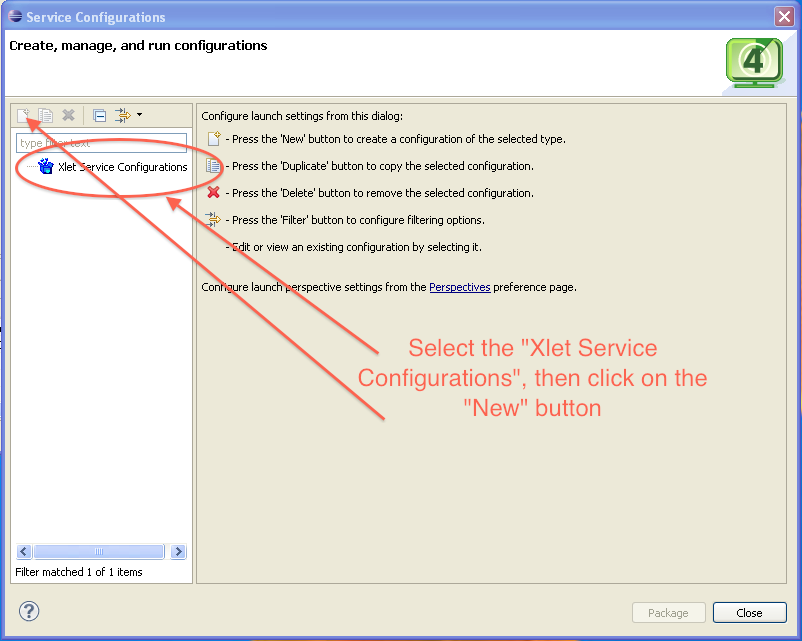
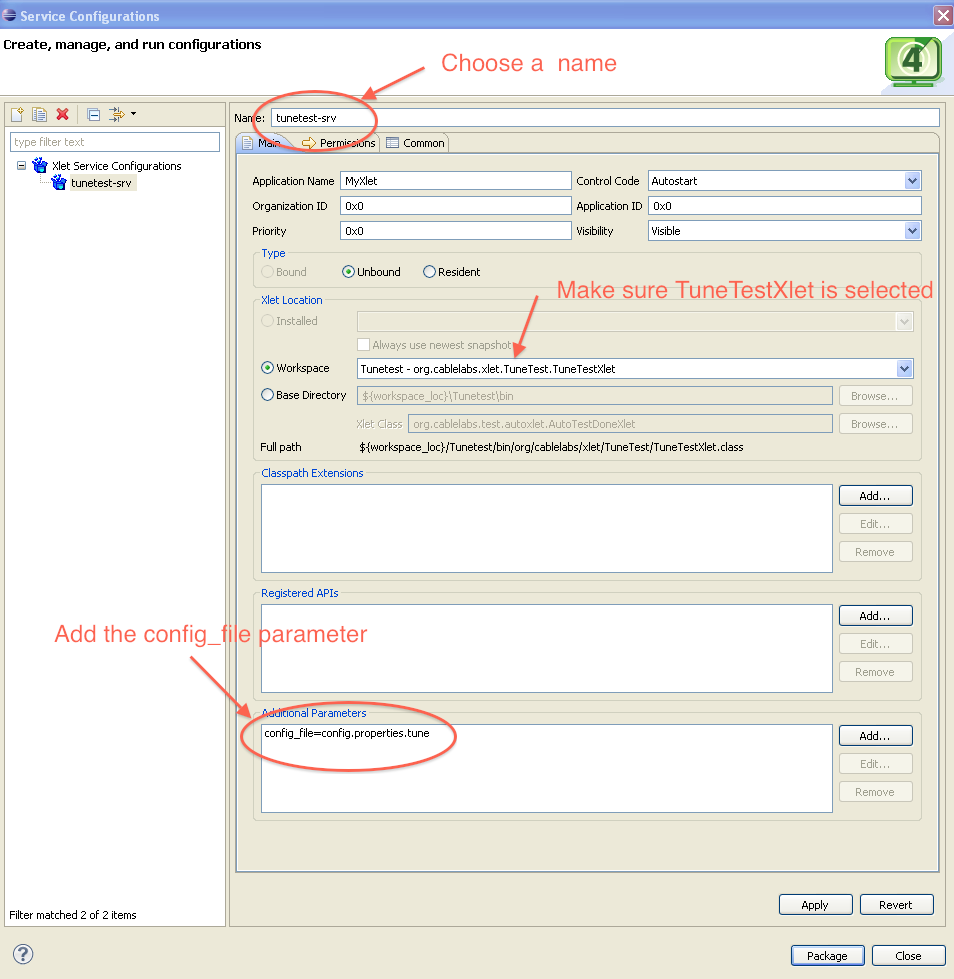
- Create a tunetest service configuration.
- Set the XLet Location as org.cablelabs.xlet.TuneTest.TuneTestXlet
- Be sure to add the following "Additional Parameters":
config_file=config.properties.tune
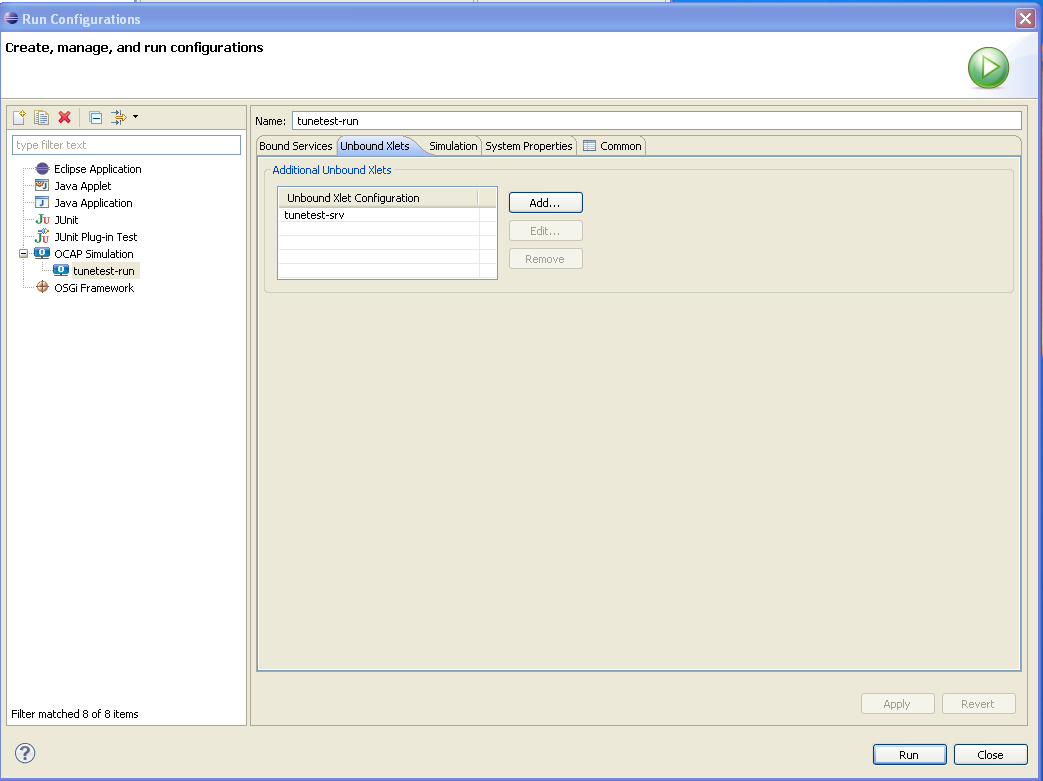
- Create a run/debug configuration.
- On the Unbound Xlets tab, choose the tunetest service configuration that was previously created.
Modify <workspace_root>/Tunetest/bin/config.properties.tune: Uncomment out the line "use_javatv_channel_map=true", to make sure the default SDK channel map is used.
After making the above changes if you launch/debug the RI it will appear that a single channel is available. In reality, There are 10 different channels defined in the default channel map (based on source ID). The default channel map configuration maps all 10 channels to the same mpeg file (the "product default background video").
Using the SDK (and information contained in config.properties.tune) we will create a non-default channel map and demonstrate inclusion/exclusion of channels.
Here, it may be informative to understand the files involved:
- platform.cfg - this file contains (along with other things) the mapping between frequency/Encoding and a particular MPEG transport stream file.
Entries take the form RI.Headend.vlc.frequency.<frequency>_<encoding> = <path to mpeg file>
e.g. RI.Headend.vlc.frequency.651000000_256QAM = $(RICOMMONROOT)/resources/tunedata/background.mpg
The SDK generates this file in a workspace scratch area - <workspace>/.twb/platform.cfg. - channelSI.bin - this is a non-human readable file that contains, along with other things, service information. I believe that this includes the service id and the program number (transport streams can and often do contain multiple programs). This file is pointed to by an entry in fdc-files.txt.
To duplicate the results found in a "standard" Tunetest (5 channels) create a channel map with the following:
- Create 5 channels
- For each channel, the Channel Number, Call Letters, Source ID and Network ID don't seem to matter (they may need to be unique).
- Set the Frequency - I started with 448000 (448MHz) and incremented bu 1000 for each subsequent channel.
There seems to be a lower limit (1 didn't work). - Modulation format doesn't seem to matter. Channel type was "Normal". Symbol Rate doesn't seem to matter. Coding Mode doesn't seem to matter.
- Click on "Select background video file"
- Browse to where you installed the RI, then into ricommon/resources/tunedata (for binary install, or common/resources/tunedata for development environments).
- Channel 1 choose 720x480_MPEG-2_CBR_TS_from_ATE_4_programs.mpg, Program ID = 1
Channel 2 choose 720x480_MPEG-2_CBR_TS_from_ATE_4_programs.mpg, Program ID = 2
Channel 3 choose hd_airplane.mpg, Program ID = 2
Channel 4 choose background.mpg, Program ID = 1
Channel 5 choose galaxy_pingpong.mpg, Program ID = 25992 - In the run configuration make sure you select your custom channel map.
Now, when you launch TuneTest, you will get all 5 channels. If you change the channel map (order or inclusion) the set of available channels will change - restarting tunetest each time, of course.